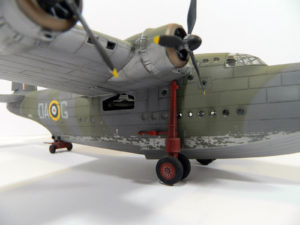
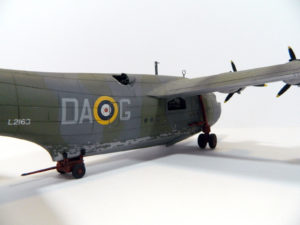
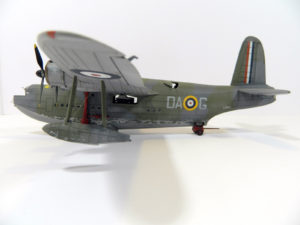
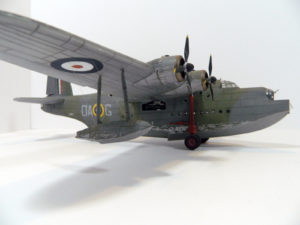
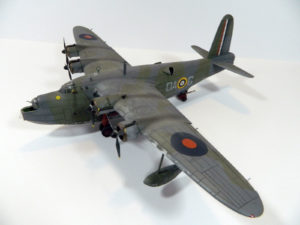
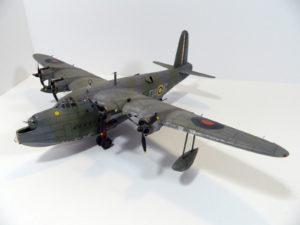
Short Sunderland Mk I

I was really excited when I saw this kit released by Italeri. The Sunderland is one of the iconic aircraft I wanted to build, but until this point the only real option would be the old 1/72 kit from Airfix with all the attendent problems like poor fit and raised panel lines. The new tooling from Italeri looked really promising – and I would have to say it didn’t disappoint.
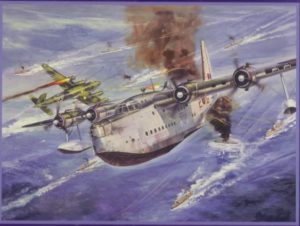
The one thing I did really miss from the Airfix fit though was that fantastic illustration on the box showing the Sunderland climbing away from a burning ship and apparently having shot down a Focke Wolf Condor. Later kits had these war elements removed or sanatised to show the Sunderland against a blue/yellow background. God forbid any children might actually think this was a plane built for war!
The Kit
This kit is great – it feels a lot like the new Airfix releases with lots of detail including a grid floor beneath the front retracting turret, an Anchor, photo-etched parts and some very nice detailed landing trollies and struts – which are essential if like me you build all your models ‘on the runway’.
The fit was very good, with crisp panel lines and plenty of detail – but this detail is quite heavy and exaggerated – which is the main area I have heard criticism of the kit. For me it wasn’t a mjor problem, and I may not even have noticed if I hadn’t read it in a review – but I have to say looking at the finished kit (and once it has been pointed out) the critics are absolutely right.
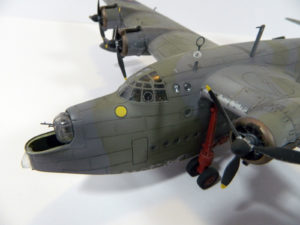
I was also a little disappointed with the clear parts which were very difficult to fit – and in the case of the cockpit glass did not blend well with the rest of the model.
The Build
For the most part the build was easy and the model went together well. There was some filling and a bit of sanding, but no more than you would expect from a relatively large kit like this.
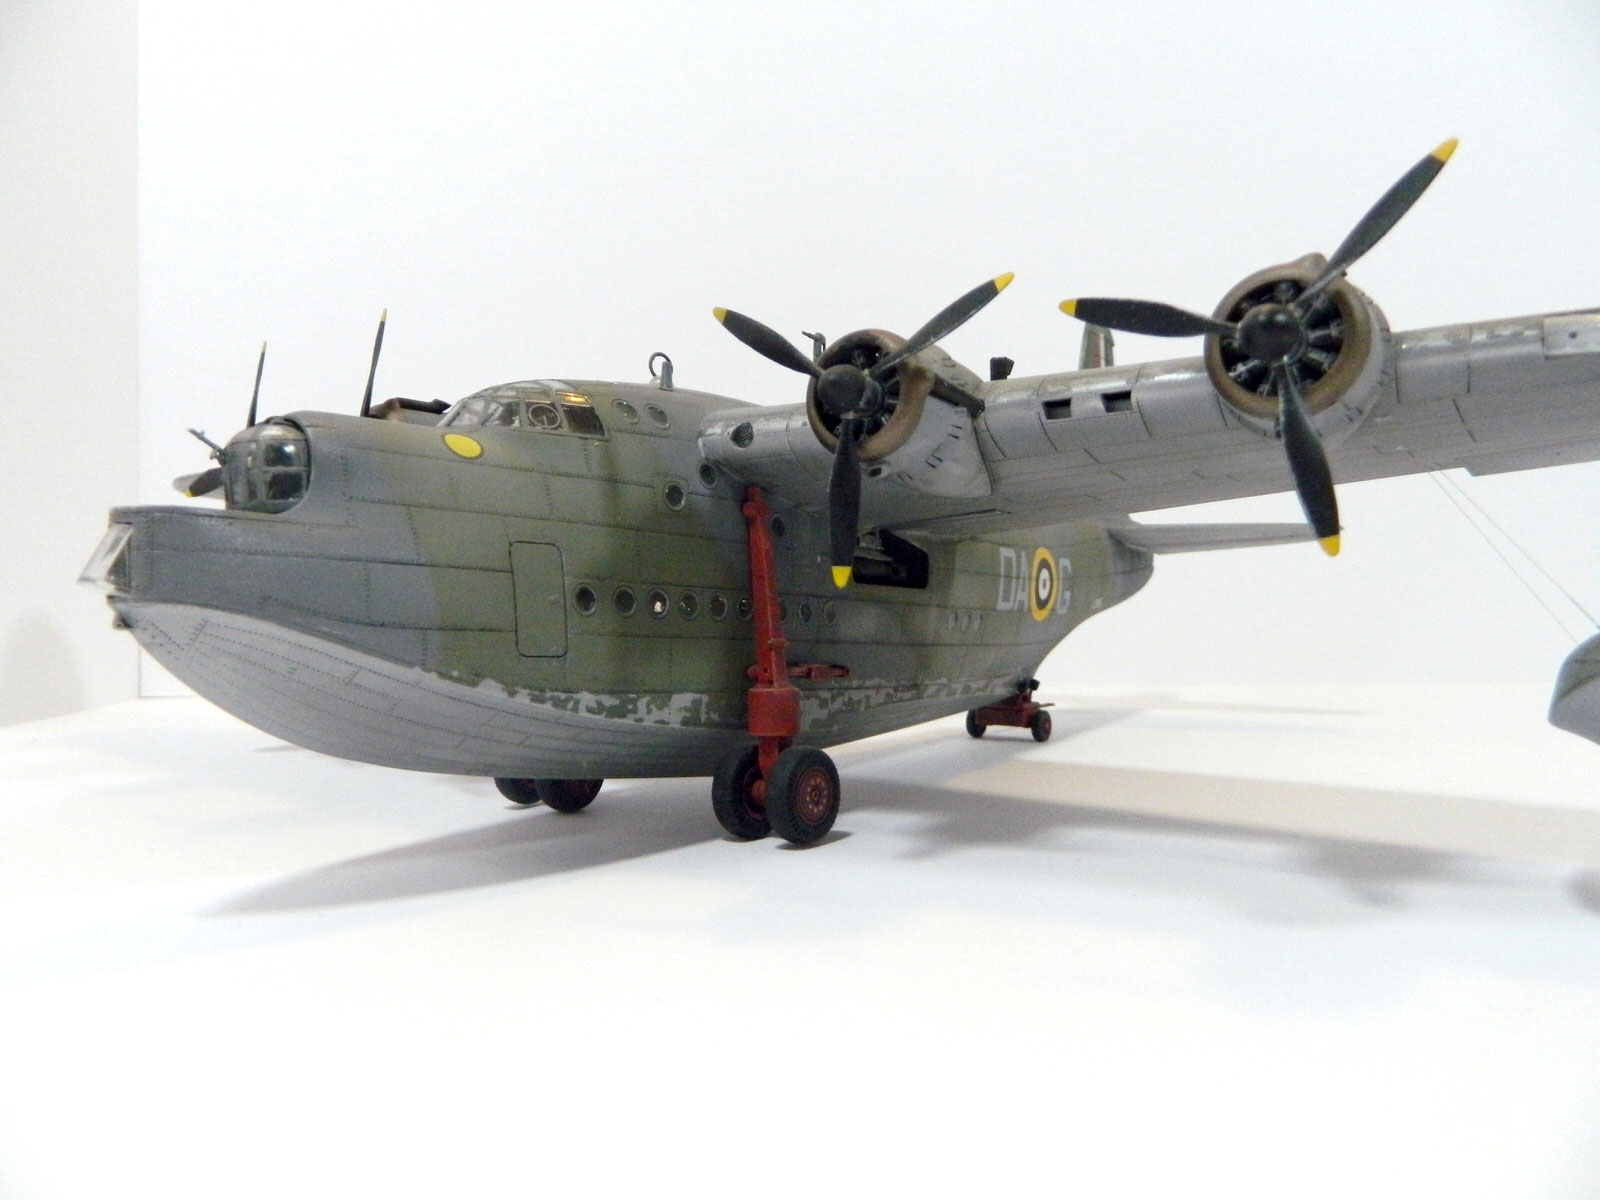
The clear parts were a different matter though – and as mentioned were a disappointment. The cockpit glass is made to fit exactly – with no space to blend the join or even fill the gap easily without infringing on the clear parts. Unfortunately, it didn’t ‘fit exactly’ and the end result was that it looks like a cockpit canopy glued on a model. Worse than that though were the fiddly windows along the sides of the fuselage. I am sure these could have been fitted and smoothed out – but I decided life was too short and decided to leave them out and then paint the beast before creating window with some Klear varnish. I had never done this before – but I have to say it worked well, and looks a lot better than the clumsy canopy.
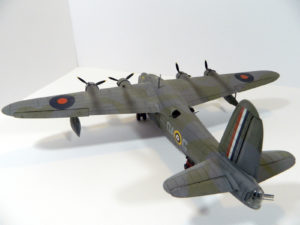
Another challenge that I chose to take up was rigging for the outriggers (floats?) beneath the wings. This was done with fishing line, a fine drill, super glue and an absolutely phenomenal amount (and variety) of deeply offensive swearing. Potty mouth doesn’t even begin to describe it – but I have to say it helps, and if you’re doing rigging like this it is every bit as essential as a steady hand.
Painting and Decals
I mentioned earlier the box art from the old Airfix kit – and for me that was almost certainly the first time I ever saw a Sunderland. The wonderful white base and camouflage upper surfaces is therefore synonomous with the plane for me – so I was disappointed to find out that wasn’t one of the colour options for this version.
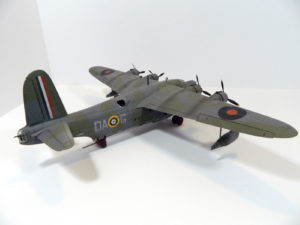
I decided to stick with one of the schemes, and to make sure I got the colours right I decided to buy the specified colours rather than an equivalent in the Tamiya acrylics I usually use. I still don’t know if these were correct, but the green and grey of the camouflage were really close, and I have to say I didn’t really like the paint scheme very much. With hindsight I wish I had waited for the later version of the Sunderland that Italeri did with the white/camouflage colour scheme – but such is life.
The decals were fairly minimal, with just roundels, codes and an enormous tail flash on the (in fairness also enormous) tail. These went on pretty well, with the usual softener to help them take, and the results looked pretty good.
Weathering
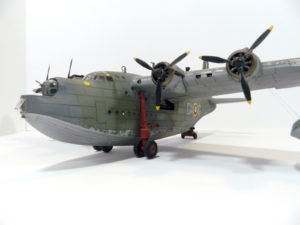
Looking at photographs (what did we do before Google and the Internet?) I decided I wanted to weather the aircraft as if it had been working on the coast for a while. The main feature with this was to apply some scratches and flaking of the paint along the water line – and this was fun to do. I laid down a silver base under these areas, and then used the hairspray technique to help the top coat flake. I was fairly pleased with the overall effect, and used it in a few other areas as well – like the engine cowl and wing leading edges, as well as the outriggers/floats.
I also had fun with the landing trollies which I painted red for some reason. It’s a while since I built this – so I can’t remember why this was, but I doubt it would have been a whim on my part – but it gave a nice contrast to what was otherwise a fairly dull colour scheme. These were really satisfying to do – and actually led me to build a few armour projects which I hadn’t tried but now also really enjoy.
Conclusion
I really enjoyed this build – the finished aircraft is a very satisfying size, and the detail in the kit was excellent. I also love the Sunderland – there is something about a flying boat that just does it for me – and it also gives a good opportunity for some authentic weathering. My only regret is that I diodn’t do a better job on the canopy, and that I didn’t go for a version with the white/camouflage colours scheme – but overall it was an enjoyable and rewarding build.
Custom Build
Get a price for a model custom-built to your exact specification

