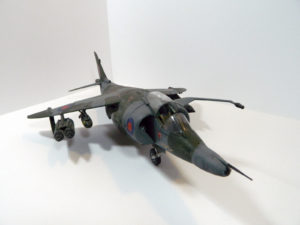
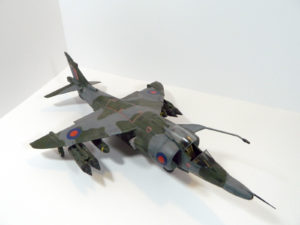
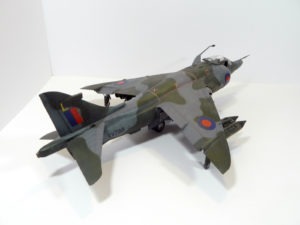
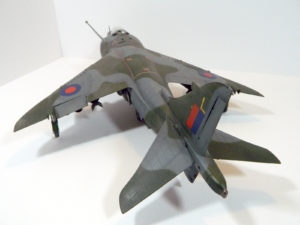
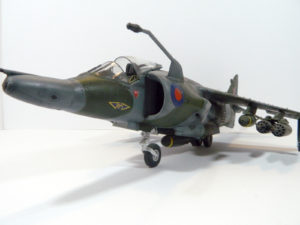
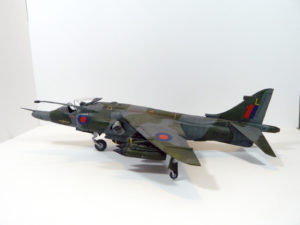
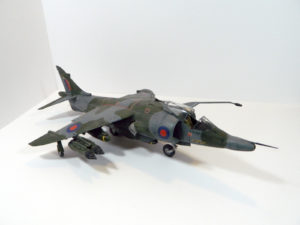
Hawker Siddeley Harrier GR.1
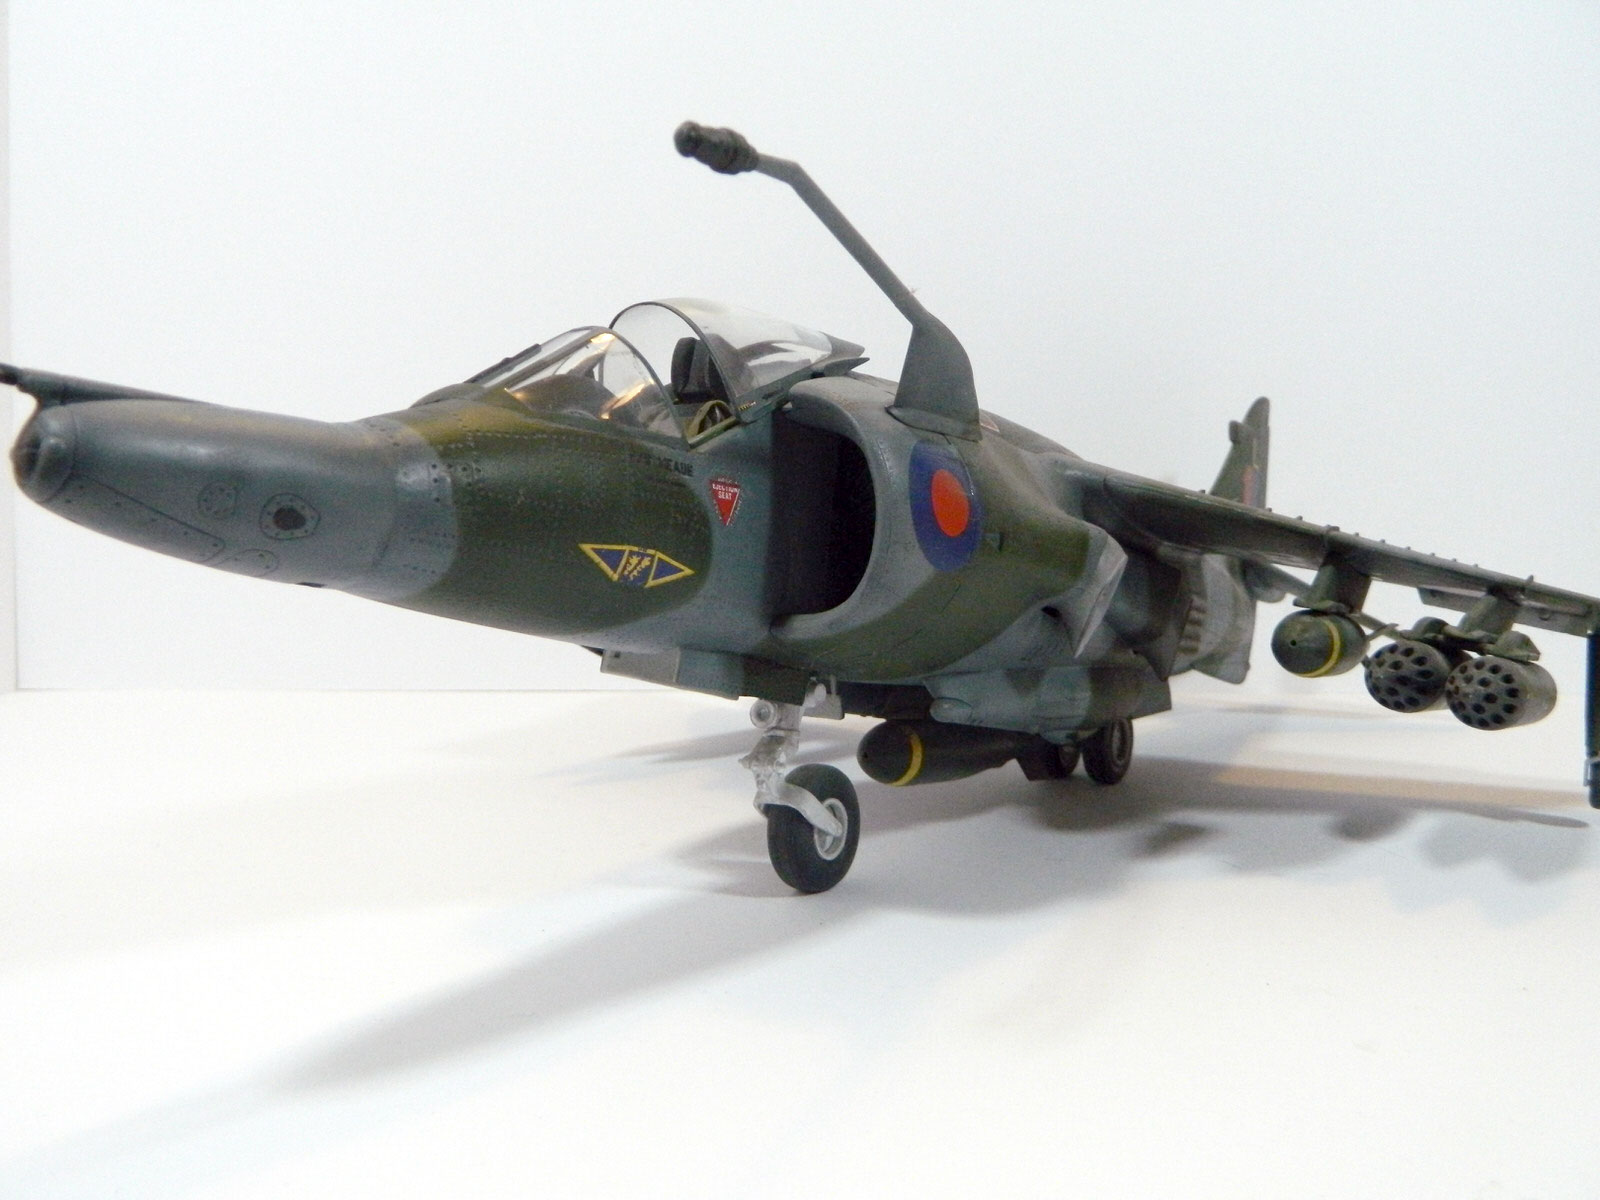

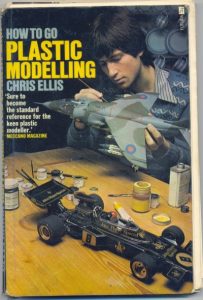
When I was a boy, this kit was my ultimate dream. I read an excellent book (which I still have) called How to Go Plastic Modelling by Chris Ellis – and on the front of the paperback he was sat at a desk painting details on one of these. It looked fantastic, and if I could have afforded to buy one I would have been a happy boy.
Many years later I bought this kit not long after I started modelling again, and because it was out of production I bought one second hand on eBay. Unfortunately the kit had been started (badly) by someone else – so it was already compromised – but I was still very excited.
The Kit
1/24th is a funny scale I find. It is so big that you look at any detail with an extra critical eye, and any areas where the detail is missing tend to stand out like a sore thumb.
This kit is from the 70s (I think) and is very much part of that era when Airfix couldn’t quite decide if the model was a display piece or a toy. The kit features really minimal detail in the cockpit, and a truly awful pilot figure that is best thrown away. All of the wing flaps are the repositionable versions that always tended to flap about, and the jet nozzles that are so important on the harrier are poorly fitting and over simple. Again these are designed to move together which is a nice touch – but they do blur the line between model and toy.
The plastic is very soft and not crisp in any way, and that is compounded by the fit being pretty poor. The canopy is designed to slide back and forward, but again this is very much at the expense of accuracy and detail. All in all, it seems like a lot of lost detail for absolutely no gain – I’m sure I’m not the only modeller who would have harsh words with anyone who picked up one of their moels and started wagging bits around!
Having said all that, it is a classic Harrier in 1/24th scale, it is huge and very impressive, and if I had put a bit more effort into it I’m sure it could be made into something really special – like the one on the front of How to Go Plastic Modelling.
The Build
Becaused the kit is so big, everything went together reasonably well – and because the plastic is so soft and thick, there was not much filling required. Most joints were far from seamless – but a bit of sanding usually brought it level – but alsways at the cost of surface detail.
The jet nozzles are large and ill-fitting, with minimal but quite brutal detail. They are all connected by a frame – which did give a satisfying effect of all moving in unison if one of them is turned. I later made a Harrier AV8 in 1/48th from Hasegawa, and although this didn’t have that kind of gimmick, the difference in quality and detail were huge – and I would gladly have sacrificed connected nozzles for some of that detail.
In the cockpit I scratch built a seat pad from masking tape folded on itself multiple times to make the cushion, and seat belts from metal foil from a cleaned out tomato puree tube. It was pretty basic but I just wanted to give some semblence of detail.
My biggest cock-up was that I got carried away gluing the parts together and failed to realise that I should have opened up the slots to attach the ordnance under the wings. This meant that after I had finished I was stuck trying to attach theme with super glue and swear words. I should have drilled holes and added pegs (well I SHOULD have opened the bloody slots) but it was early days and I just went the glue route. Eventually, after these dropped off for about the 100th time I did drill and peg – but it wasn’t my finest moment!
Paint & Decals
I went for the classic all over camouflage paint scheme – and this was easy enough to do with blue-tak snakes. The biggest problem was making sure all the green and grey areas wrapped completely round the aircraft – something you don’t have to worry about with a different coloured underside.
As I say, the model was an older kit off eBay, so the decals were a bit old, but the went down well enough with the usual softener. The registration on the red panel markings wasn’t great – so there is a clearly visible white line round all of them, and a few of the roundels had to be patched with paint.
Because this was early days for me, I also didn’t really do justice to the jet nozzles which I just painted grey and then silver dry-brushed.
Weathering
I didn’t really weather this model – just a wash over the panel lines and rivets.
Conclusion
All in all, this model was a disappointment – partly because of the kit – but mainly because I didn’t really commit to it properly. When I look at the one on the cover of How to Go Plastic Modelling I feel slightly ashamed and have to think that maybe some day I will buy the kit again and try to do it (and Chris Ellis) justice.
Custom Build
Get a price for a model custom-built to your exact specification

