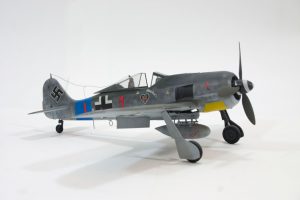
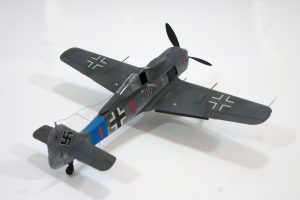
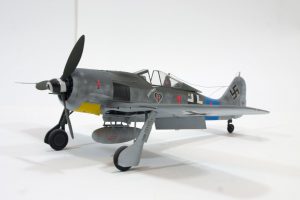
Focke-Wulf Fw 190A-8
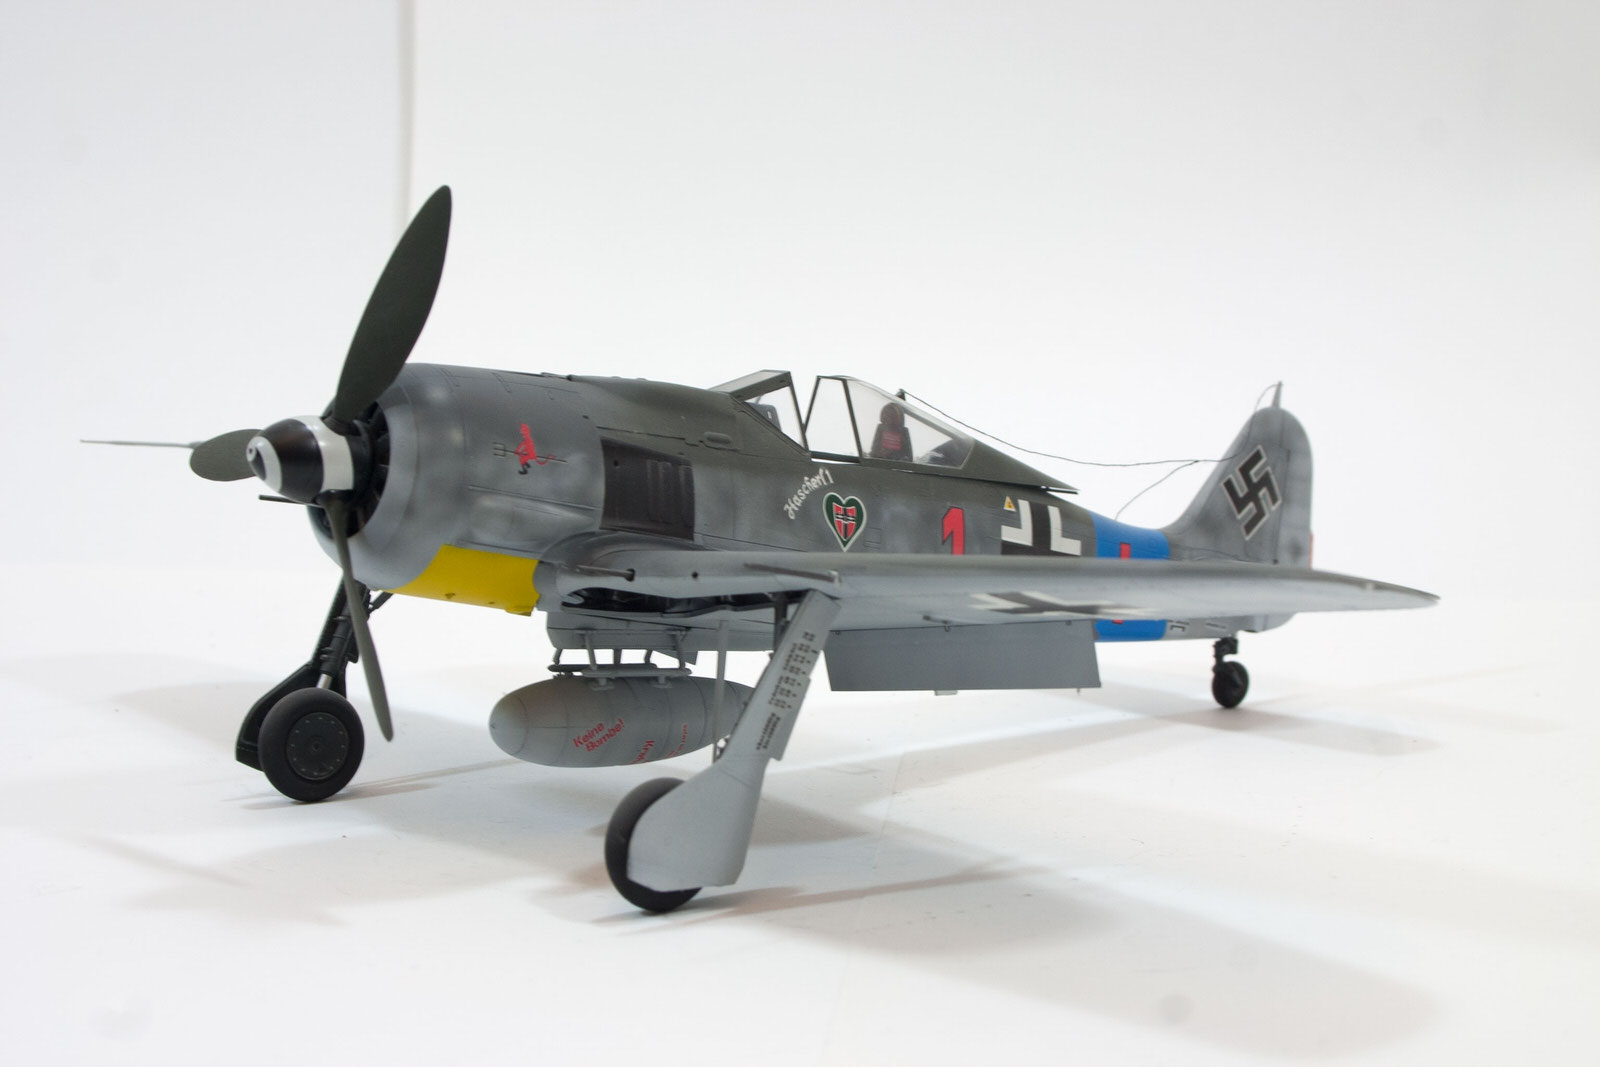

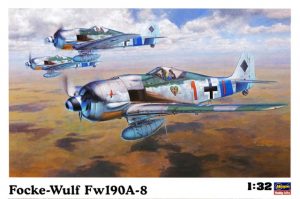
This kit from Hasegawa has one of the most beautiful box-art images I have ever seen – as soon as I saw it I knew I wanted to build that model! There is something about the proportions of the FW190 with the radial engine that is just perfect. It doesn’t have the graceful beauty of a spitfire, but it just has perfect proportions and aggressive powerful lines that make it a thing of beauty.
At the risk of straying from my modelling brief, I have to say Iam never entirely comfortable with describing a deadly weapon designed solely to kill people as ‘beautiful’ – but at the same time it clearly is beautiful. I guess it’s like a Tiger or an Eagle – or maybe a Velociraptor. Even if it was about to kill you, you wouldn’t be able to resist muttering a quiet “Clever Girl” under your breath.
The Kit
The kit itself is typical Hasegawa – nice fine detail and easy to build – but the enlarged 1/32 scale strangely makes it feel more like a Tamiya kit – solid and sturdy. 1/32 is a great scale that I really like – it isn’t as demanding as a 24th scale, but it would lend itself to some nice detailing.
I actually built this kit straight out of the box, so the detail is all from the actual kit – and I think it has plenty. I’m sure a more patient modeller could have done much more with it, but for me it had everything I wanted to do with the aircraft right there already. The kit comes with a pilot – and again at 1/32 scale I’m sure you could make this work really well – but I don’t really like putting people into my models, so I left him out.
The Build
The build really couldn’t have been easier. The fit was excellent, and everything went together with a minimum of filling and sanding. I actually built this kit before I discovered liquid cement – so I just used the standard humbrol bottle for everything – but it still worked perfectly. The parts and construction are very well thought out, and there were no annoying ‘why did they put that join there!’ moments.
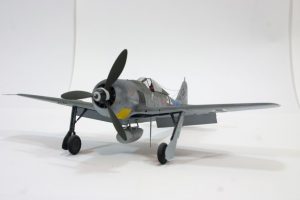
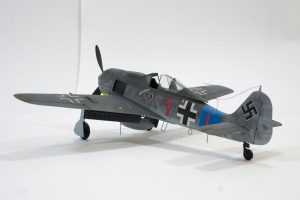
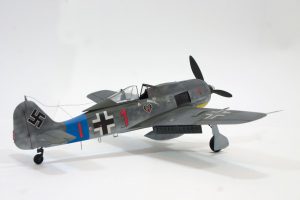
The only thing I added was the wire from the cockpit to the tail, which was an interesting feature I saw on various photos. I used ordinary cotton for this – and the result is a bit too thick and has a decidedly furry feel to it – but I still think it adds to the effect, especially with the open cockpit and drooping wires. I think I picked this idea up from other modellers builds – because from the few real photos I found I suspect the actual wires had some sort of pulley mechanism that kept it taut even when the cockpit was open – but it looks good drooping so what the hell.
Painting & Decals
The colour scheme for this aircraft is quite a soft version of the usual Luftwaffe splinter scheme. The sharp lines are replaced with softer curves, and on the side of the aircraft a mottled grey fading up to the camouflage on the top. It’s a bit like a short back and sides.
The aircraft was initially painted all over in the neutral sky-grey featured on the underside, and then the darker grey mottled effect on the sides was done free hand with the airbrush. The splinter camouflage was then done over the top of this with blue-tack to keep a softer edge. The yellow under the nose was then also applied with a white base first to keep it punchy.
The decals are nice, and went down well with the softener to help them along. The decals included the blue stripe just ahead of the tail fins – but I don’t normally like these decals. I can’t honestly remember whether I actually used this decal, or threw these away and painted the blue stripe on myself. Looking at the pictures I suspect I used the decal – and the fact I can’t remember means it must have gone on pretty well.
I mentioned the box-art earlier on, and the one thing that really bothers me about this is the absence of the Swastika on the tail of the plane. It has been replaced with a black box, and this kind of nonsense really annoys me. I have no fetish for Nazi memorabilia, and I accept that the Swastika represents something deeply repugnant and should never be revered or displayed without reason – but it was a feature of this aircraft. To take it away is pointless and self-defeating – it should be used to remember the reality of the war, and that in turn should be used to help explain to people why the whole world united to defeat the threat of Nazism. When I saw this on the box I felt sure the model was going to come without Swastikas as well – but I was pleased to see they were in place (although clearly separated on the very edge of the decal sheet – so I suspect in some countries they are cropped off).
Other decals were nicely detailed and went down well – although I did manage to mess up one of the larger decals on the wheelbay doors, so this is missing. Overall I was pleased with the paint effect – although it perhaps blends together a bit too much, and with hindsight I might have given the camouflage a bit more contrast to liven it up a bit.
Weathering
Basically I didn’t do any. I made this model early on in my modelling revival, so I built it as if it was fresh from the factory. I actually really like it like that, and I’m glad that I didn’t weather it – but I have another version of the same kit, and at some point I intend to do that weathered as if it has been on the Russian front for a few years!
Conclusion
A perfect kit. It would make a great base for a highly detailed build with lots of aftermarket stuff – but even just out of the box it is a very rewarding project.
Custom Build
Get a price for a model custom-built to your exact specification

