Bolton Paul Defiant
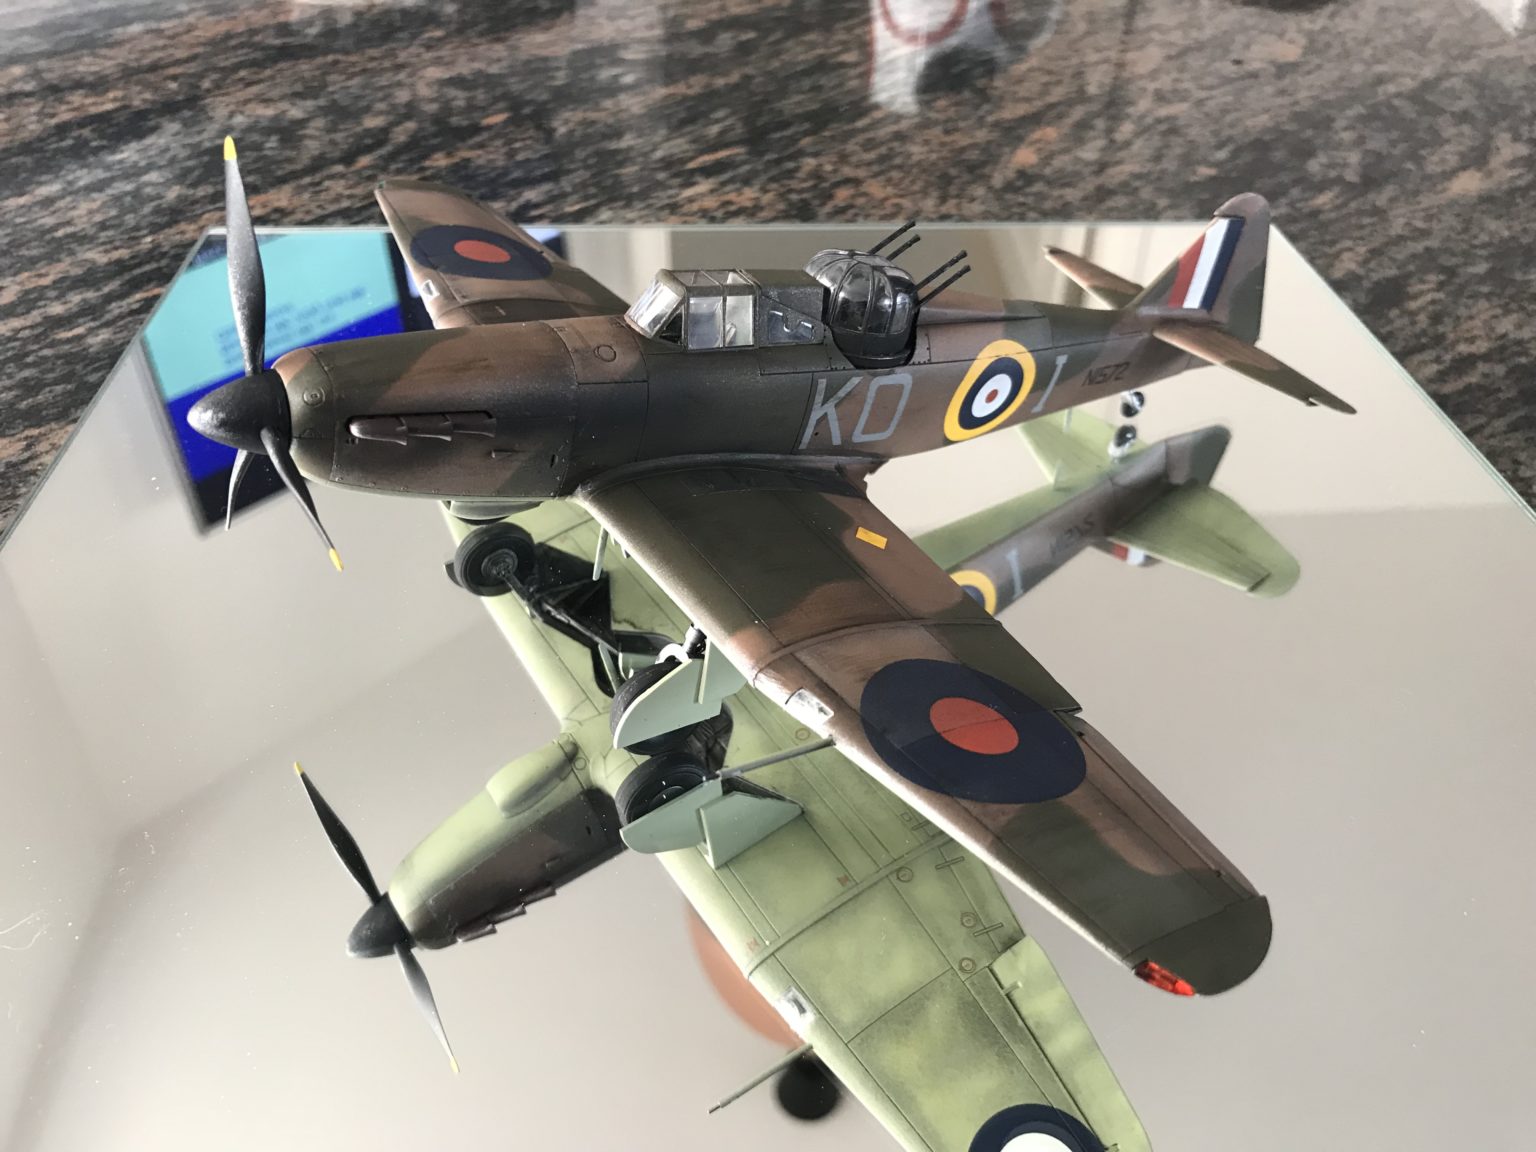

This is the new 1/48 kit from Airfix – and initially I wasn’t entirely sure I wanted to make it as the Defiant isn’t really a plane that has ever been on my radar (no pun intended). It always seemed to be something of a Chimaera – the love child of a Hrricane and some kind of bomber with that huge turret behind the cockpit – but as often happens, whilst making the kit I really fell for the plane.
It does have that slightly ungainly quality – and I’m sure it must have literally had that turret shoe-horned into the design – but somehow it works. From a distance it really must have looked like a Hurricane to German pilots – but as my Father pointed out, they must have got a nasty shock when they came up on its tail and suddenly this fighter started ahooting back at them like a bomber!
The Kit
Like most of Airfix’s new offerings, this is a great little kit. The detail is nice and goes together precisely, and the whole thing goes together very quickly with a satisfying finish. The panel details are nicely engraved, and all the elements fit well and line-up as they should.
Like all fighters, the cockpit is not easily seen on the completed kit – so for me the detail was more than adequate. The turret itself is ultimately the main focus of this kit, and it worked well with good detail and an excellent fit.
The Build
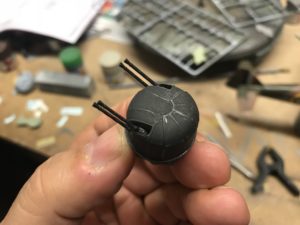
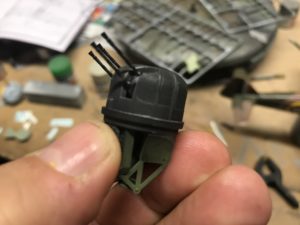
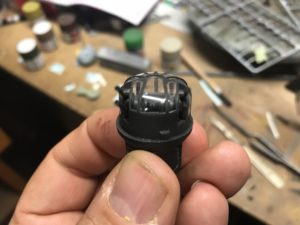
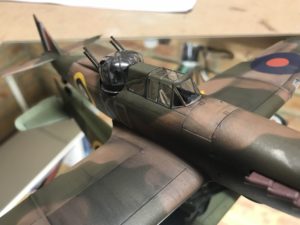
As I say, the kit went together really well and was an easy build. My only dilemma reall was the turret itself – which according to the instructions has to be built in as the fuselage halves go together. I hate trying to work around guns like that, and I invariably end up breaking them off during masking, painting and then again during weathering – so I decided to leave the turret separate and fit it once the build was complete. It’s a bit fiddly to do, and it means the turret doesn’t turn – but it protects the guns and for me was definitely the right choice.
Painting and Decals
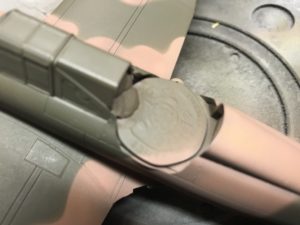
The clear parts all worked well, and have a good level of detail in the nicely raised frames made it easy to cut masks for the cockpit. I was also able to temporarily fit the undercarriage doors with blue-tac to mask the well. This is much easier than filling the well with blue tak or foam etc – but isn’t always possible. I also had to plug the well for the turret – and for this I found a 20p piece fitted perfectly!
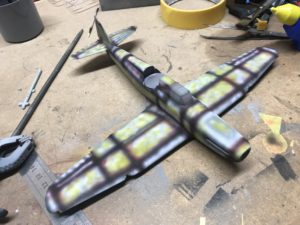
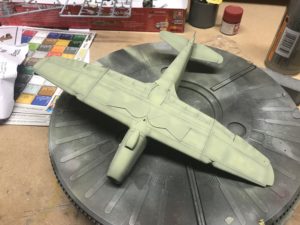
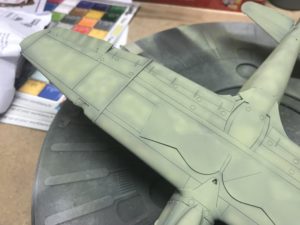
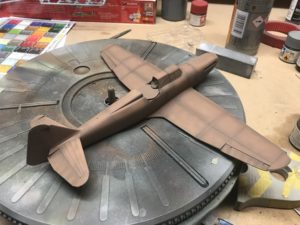
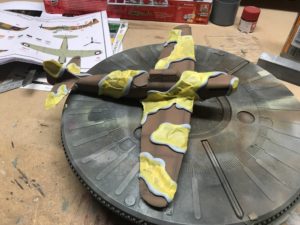
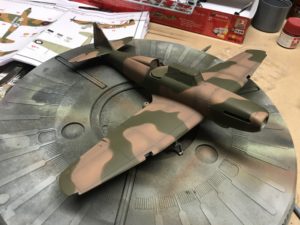
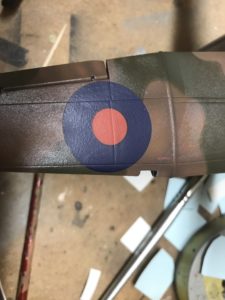
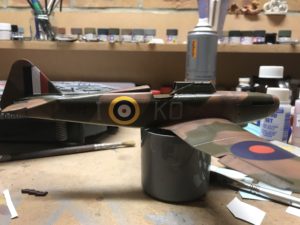
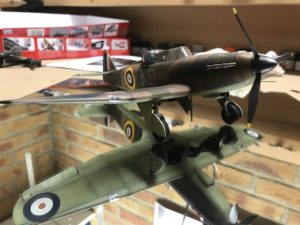
I started painting with a bit of pre-shading along the panel lines using black, and then worked over the top of that with red and picked out the highlights with white and some yellow to give definition. After that I lay down the ducke egg blue underneath and was quite pleased with the depth the preshading gave me. I then masked the hard line for the upper surface and lay the brown colour all over the model, before laying down blue-tak and masking tape to give a nice softly defined camouflage pattern.
I’m never entirely sure how accurate the soft line is, and whether the real aircraft would have been sprayed or brush painted – but I grew up painting camouflage in enamels with a brush and always longed for an airbrush to get that softe edge. It may not be accurate – but I like the way it looks so what the hell!
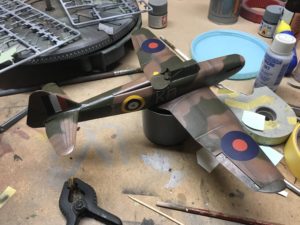
It always seems too soft when you first lay down the matt camouflage – but once you put a coat of gloss on for the decals (I still want to call them transfers) it seems to harden up and hang together well. When I first applied the decals I was quite concerned that they weren’t settling. A couple of people on instagram (@scalemodelmaker) suggested that it was because I hadn’t applied enough gloss, but it was very much the level I normally go for, and after a couple of applications of Microsol they actually settled down beautifully.
Weathering
I used an oil wash of black and brown to pick out the panel lines, and the used the over wash to feather and turn into a bit of grime. I also used post-i notes to quickly lay down a bit more black/bown to give some definition to the panels, and used a pencil to pisk out a bit of paint wear in stratedgic areas.
Overall I was aiming for the look of a plane that was dirty and slightly worn from being busy – rather than battered from constant battle. Working on the turret separately allowed me to apply a bit of silver brushing to the raised framework to help define the detail – and once the mask was removed I was particularly pleased with this. Removing the mask frm a cockpit or clear part is one of my favourite moments, and it never fails to bring the model to life.
Conclusion
I really enjoyed this kit – it’s a nice simple build, but with enough detail and interest to make it rewarding. The finished result is a great looking plane, and I can’t help but put myself in the heads of the German fighters who came up expecting an easy kill – only to meet a barrage of fire from those 4 guns.
Custom Build
Get a price for a model custom-built to your exact specification


