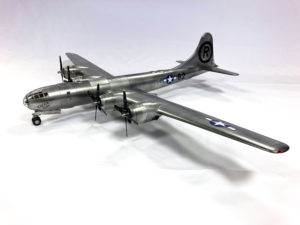
B-29 Enola Gay

I couldn’t believe my luck when a customer in America asked me not only to build the Enola Gay B-29 for him – but to build it in 1/48th scale!
I always looked at the old 1/72 scale Airfix kit as a kid and wanted to build it – but the bare metal finish and greenhouse cockpit made it an ambitious build and a step too far for me then.
When I started building models again as a (more or less) adult, the kit was high on my list – but difficult to get hold of – and although I loved the idea of building the huge 1/48 kit, I was painfully aware that I would also have to find somewhere to display it.
Fortunately, Dana in Alabama didn’t have a problem with space and wanted me to build it – so the adventure began!
The Kit
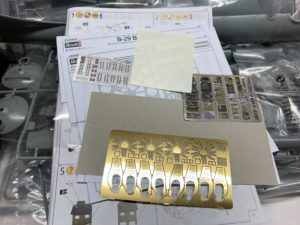
The kit was originally made by Monogram back in the 70s – which doesn’t tend to be a great starting point. The version I bought was the re-issue by Revell and comes with some really nice photo etch – both brass and beautifully printed cockpit parts.
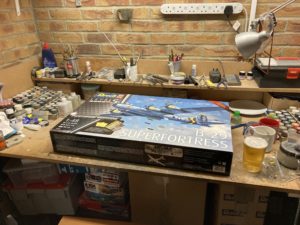
The box itself is big – so you feel you are really getting your money’s worth. When you open it, the first thing you notice is just how well packaged it all is. The box is sturdy and the parts are nicely laid out – making it feel like something from Tamiya or Trumpeter – especially with the nice big pack of Eduard details that really promise a great result.
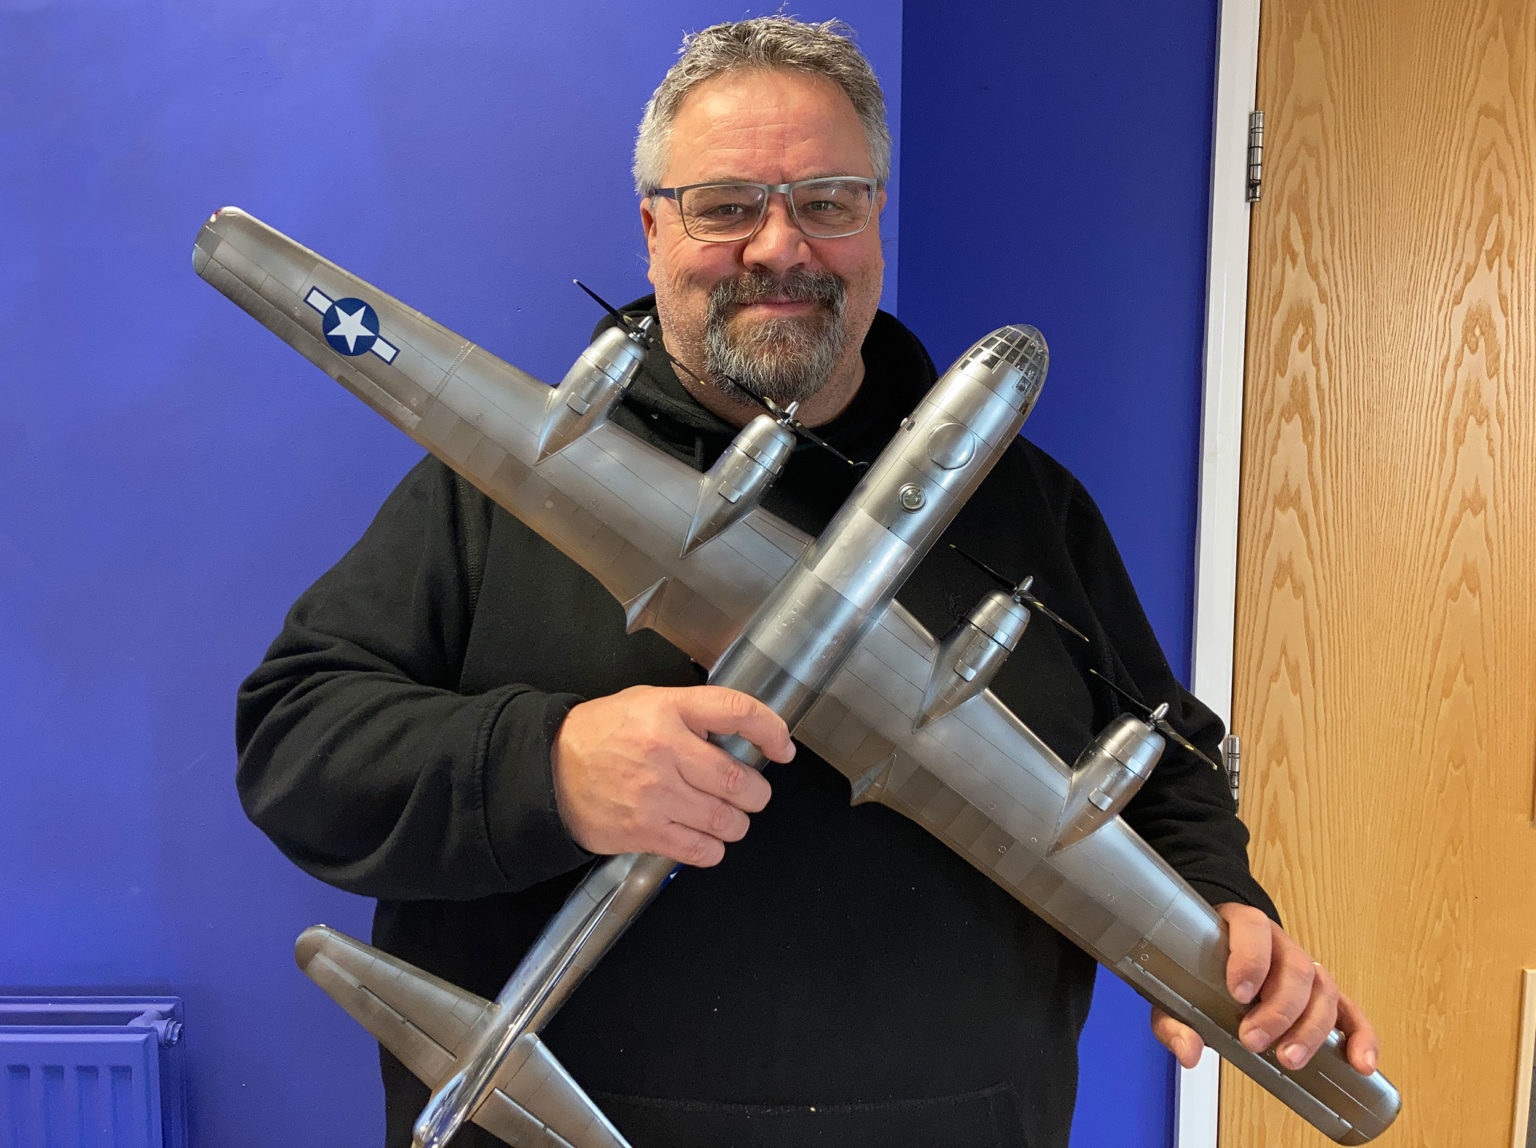
The next thing you notice is the sheer size of the parts. I have built the old 1/72 Monogram XB-70 (reissued by Italeri) a few times – and that always seems huge, but this is just on another scale. The fuselage is over 2 feet long, but the wingspan is almost 3 ft – that’s 650mm x 900mm if you’re that way inclined. Impressive to say the least!
Unfortunately it’s downhill from there. The kit is everything you expect of a kit from the 70s, with raised panel lines and the kind of dodgy fit that always comes with that. The mouldings are very thick, and from what I read online before building needed lots of adjustment and surgery to make it go together.
The Subject
Unfortunately for me, Revell have decided not to offer the Enola Gay as one of the options in this kit. There is a very nice set of decals for a couple of other aircraft – and it would build into a very nice example, but my guy wanted the Enola Gay – and in all honesty why wouldn’t you?
And that started me wondering. Why wouldn’t you offer Enola Gay as an option? When Revell are trying to sell an expensive kit that is so hard to build and display, why wouldn’t they offer the option to build the most famous plane of that mark – and arguably the most famous individual plane of all time?
I think it comes down to something that I think is really sad. I know the Enola Gay is on display at the Smithsonian, but it was only when I did some research that I found that after it was donated to them in 1953 it was simply abandoned outside for a decade. During that time it was scavenged by trophy hunters and left to more or less rot, before being eventually taken apart and shifted into storage. It was left there until 1984 when the museum started a rebuild at a cost of over a million dollars.
Even then, only a portion of the aircraft’s fuselage was to be put on display – and was planned to appear alongside an exhibition that portrayed the bomb dropped on Hiroshima as an act of vengeance, and Enola Gay as a symbol of nuclear terror. Fortunately, an outcry from veterans and the public stopped that presentation and the whole aircraft was restored and is now on display – but I think it is this queasy reluctance to face the role Enola Gay played in WW2 that lies behind the decision.
For me that reluctance is completely misplaced. I don’t celebrate the dropping of the atomic bomb, but to portray it as some kind of war crime seems to me to be misguided. The loss of life in Hiroshima was appalling – some 66,000 people many of them women and children – but it was much less than the 97,000 killed by incendiary bombs in the bombing of Tokyo. The difference was the terrifying power that the new bomb displayed – but that was also the only reason the Imperial forces surrendered.
Without Enola Gay and the bomb, the war in the Pacific would have dragged on for months or even years – with many more raids on cities across Japan. Every mile of every island would have had to be fought over with unimaginable loss of life for the Allied forces – and virtual annihilation for the people of Japan.
The atomic bomb may have ushered in the age of nuclear terror and created the potential for humanity to destroy itself – but in truth, it also finally ended the madness of an entire world at war with the minimum loss of life. We shouldn’t celebrate that – but we should at least acknowledge the truth of it and not shy away from recognising the importance of the plane that delivered it.
The build
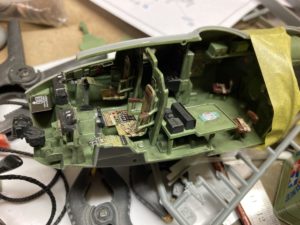
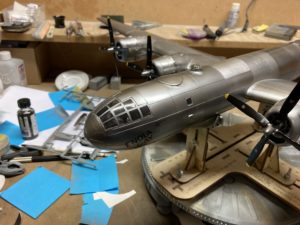
Once I had stopped playing with the big parts and thinking about just how big this was going to be (did I mention how big it is?) I got started o the cockpit. As mentioned, the kit comes with lots of PE so the interior went together well – but my enthusiasm for interiors is always tempered by the fact that most of it will not be visible once the fuselage goes together. Obviously here you have the large greenhouse canopy – and this is nicely clear plastic, but it is very thick and ultimately much of that detail is still lost.
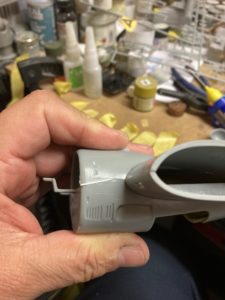
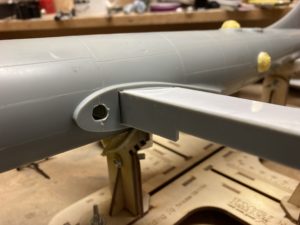
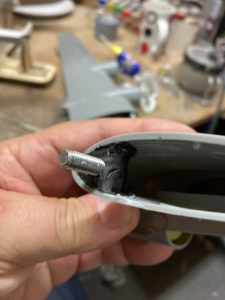
Because the finished model was to be shipped out to the states, I considered building it with the wings separate so that they could all go into a large postal tube. I decide to bolt the wings on as well as glue them. so I fixed a bolt into each wing with Sugru, and drilled a hole in the wing root to pass the bolt through and attached the nut in the bomb bay. Once the Sugru set I tried this and it worked well – but unfortunately the Sugru just pulled out of the wing root. It retained the shape of the wing though – so I just scored inside the wing and superglued it back in – which seemed to work well.
Detachable wing would have had some benefits, but in the end I didn’t want to leave Dana having to finish the build himself, so I decided to build the aircraft complete and worry about the shipping further down the line.
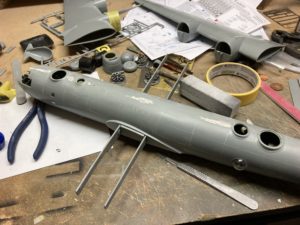
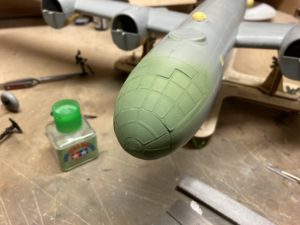
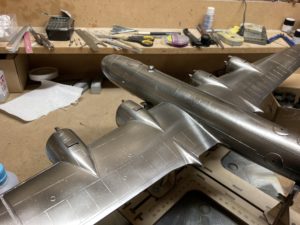
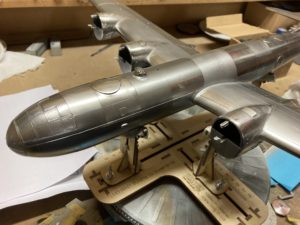
For all I had heard about the fit problems with the kit, it actually went together quite well. I removed a lot of the raised panels line and scribed new ones, and there was quite a lot of plasticard to assist the fit – but overall it was quite rewarding to do.
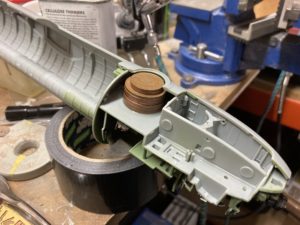
One thing you will need to remember with this kit is the nose weight – it needs A LOT. To do this I used my usual coins – with several superglued into the lower turret position, and then more 2p pieces taped into rolls and then hot-glued into place in the bomb bay. I think in total I had about seventy 2 pieces – but I’m pleased to say it worked perfectly.
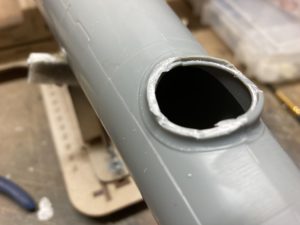
I was now ready to paint, and whilst working out whether to add the turrets before or after painting, I suddenly realised Enola Gay didn’t have turrets. A bit late in the day to realise this but once I had stopped swearing I just carefully carved them off and used the blanks that came with the kit to block them off.
Painting
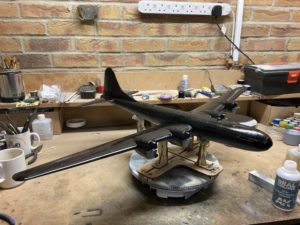
With all the parts together I started to plan the painting. The kit comes with pre-cut masks which are excellent – and I have now been thoroughly converted to these for most of my builds. I say plan the painting, but it’s pretty straightforward with bare metal all over. I use Alclad for this so I started by painting the beast with gloss black primer – which actually looks amazing! I had completed a Black Widow previously, and part of me really wanted to turn the B-29 into a night bomber!
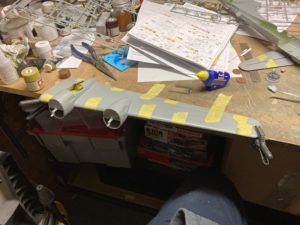
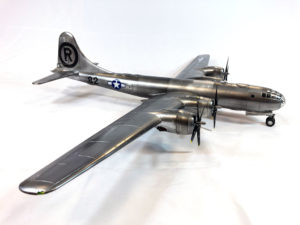
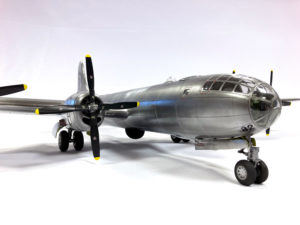
Once I got over myself, I laid down a coat of Airframe Aluminium which gives a high shine but very uniform finish. I then used post it notes to mask off various panels and laid down a range of other colours including Matt and semi-matt Aluminium, Magnesium, Chrome and black chrome to create some variety in the panels.
I was pleased with the result, but I got through huge amounts of Alclad, and just fitting the beast on the workbench was a major challenge.
Decals and finishing
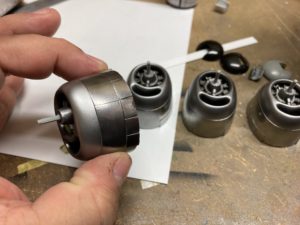
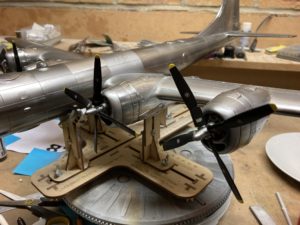
Before applying decals I fixed the engine nacelles in place. These looked great, but I couldn’t resist adding another couple of 2p pieces behind each one.
I was able to use the kit decals for the Stars and Bars, but for the rest of the build I had to print my own. This is easier than it sounds, and worked particularly well because all the markings are just black – so I was able to use clear film.
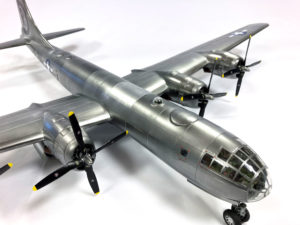
With the decals in place and a coat of varnish applied it was time for finishing touches. I love removing the masks from the canopy for any build – it’s my favourite part – and on the Superfortress this is multiplied tenfold.
That more or less completed the build, and the final things like undercarriage finished it off nicely and the model was ready to ship. But how do you get a 3ft square model across the pond?
Packing
I went for belt an braces. I bought sheets of 50mm (2 inch) thick polystyrene and cut out the shapes to let the model sit inside this. I then built a wooden frame around the blocks and used hardboard and bubble wrap to protect the surfaces.
It wasn’t cheap, it wasn’t light, and it was expensive to ship – but I was delighted when the build arrived safely and Dana was pleased enough to order a 1/48 scale Memphis Belle to go alongside.
Conclusion
I loved this kit. It would be nice to have better moulds and proper engraved panel lines etc – but there is something I love about crafting an acceptable model form these old kits.
In 1/48 scale I’ve done this, a couple of Dakotas, a B-17 and a couple of XB-70s. One of the Dakotas and the B-17 were modern kits (Trumpeter and HKC) and the detail and accuracy is undoubtedly better – but in many ways I enjoyed the older Revell and Italeri kits more.
I love the B-29, and this kit is undoubtedly magnificent. If you do ever get the chance to build one at this scale – take it.
Did I mention how big it is though?
Custom Build
Get a price for a model custom-built to your exact specification

