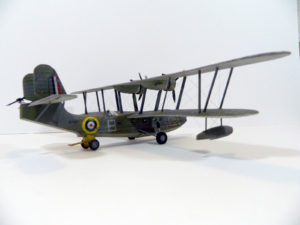
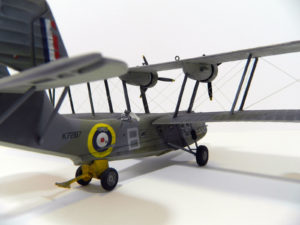
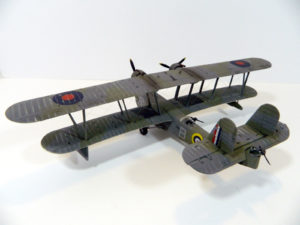
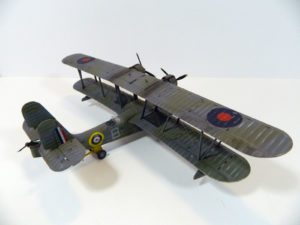
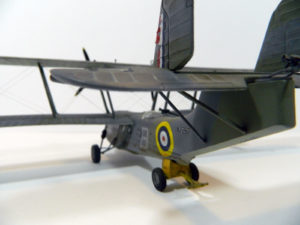
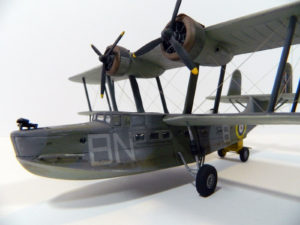
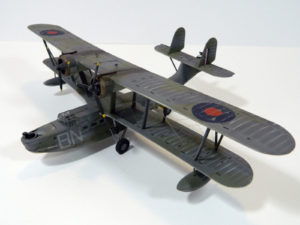
Supermarine Stranraer
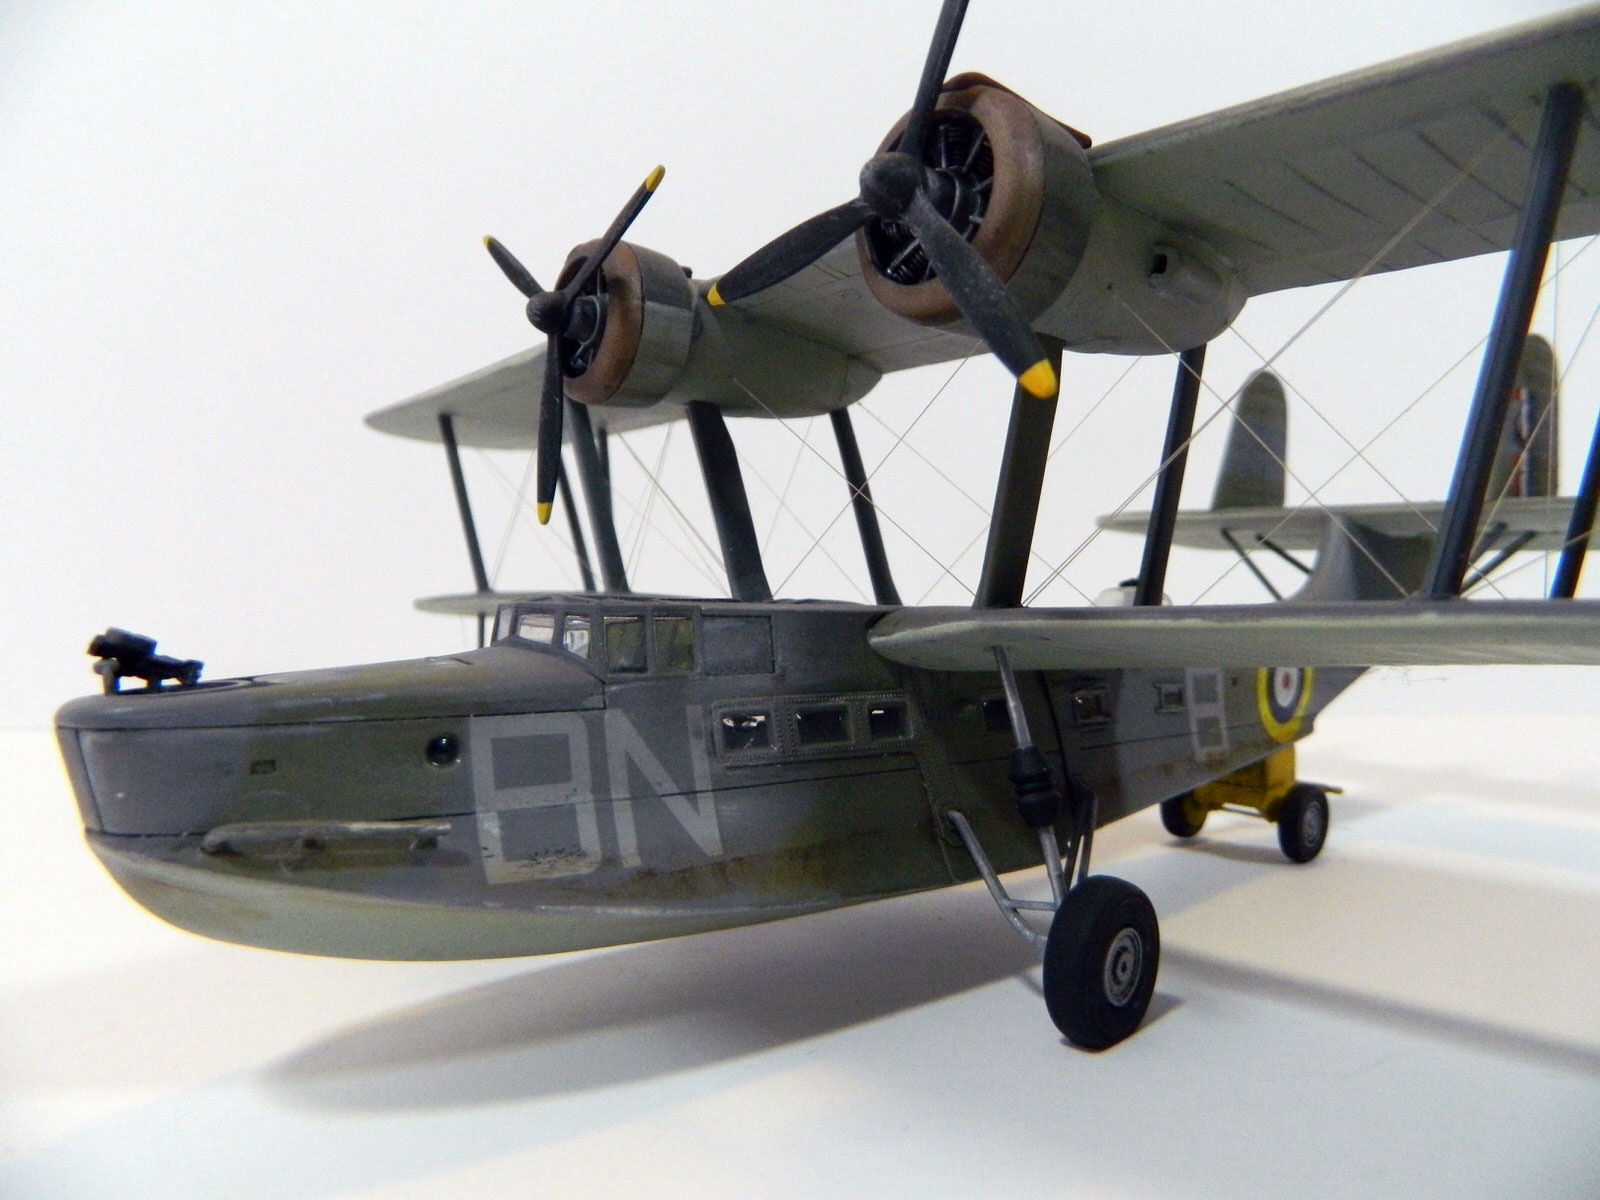

I built this kit after finishing the Sunderland flying boat – so it was prompted by an interest in flying boats and a masochistic desire to do more rigging. This is one of the very few biplanes I have built, but it was fun to do in the same way that poking a mouth ulcer is fun!
The Kit
The Revell kit was apparently a reissue of the old Matchbox kit, but the detail and fit is really not bad for a kit of that age. I remember as a boy loving the Matchbox kits as a more sophisticated version opf the old Airfix kits. I even liked the two colour plastic you used to get – although today I think it would cheese me off if they brought it back!
To be picky, I would say that the struts on the wings are a bit clunky and the clear parts are very thick – but I’m sure these could be improved, and overall I think it is a good kit.
The Build
Because this is a relatively small kit there isn’t a lot of detail inside the aircraft to worry about – so the build quickly gets down to the main parts. For me the challenge of this kit was going to be the stacked wings, and the build really had to work round that.
I suspect there is a much better way to do the rigging, but for whatever reason I decided to fit the rigging lines through the top of the lower wing by drilling holes right through, poking fishing line through the holes and then supergluing these in place. I then fitted the lower part of that wing and added the struts, before fitting the bottom half of the upper wing in the same way – drilling holes for the rigging and gluing that in place once the line was pulled taut.
It worked, but I suspect I could have done it more easily in a different way. It added a lot of problems to the build and I confess there were quite a few moments where I was severely tempted to test whether the model (along with my compressor and chair) would fly through the closed window if thrown hard enough.
The kit also has a nice little beaching trolley included, and I chose to use this as well.
Painting & Decals
I used the same colours for this build that I used on the Sunderland, and again I actually feel that the grey and green are a bit too close. The decals were fine and went down well with a bit of gentle persuasion from a softener.
One of the big problems I had was that because I chose to leave the top of the upper wing off until the rigging was sorted, I had to paint it first and then fit it without damaging the paint. It worked, but again I think I probably created a rod for my own back.
Weathering
I went a bit overboard with this. I liked the idea that theSunderland felt like it had been on the coast for while – so I decided to rack that up for this one. Again I started by focussing on the waterline, but then I got carried away. I sanded the upper wings to give the impression of wear across the fabric struts, and I flaked the decals to suggest more wear. I also applied sooty streaks from the engine back over the upper wings.
Overall I think the effect works pretty well – and it was exactly the sort of effect I wanted to achieve.
Conclusions
OK – it’s an old kit and a challenging build – but I have to say it is worth the effort.
Custom Build
Get a price for a model custom-built to your exact specification

